I left this out of Chapter 4 where we learned about increasing and working in the Round vs Flat because it’s kind of a meld between the two, and while it’s definitely a great technique, I surprisingly don’t actually find myself using it very often (probably because it’s not really used in amigurumi often).
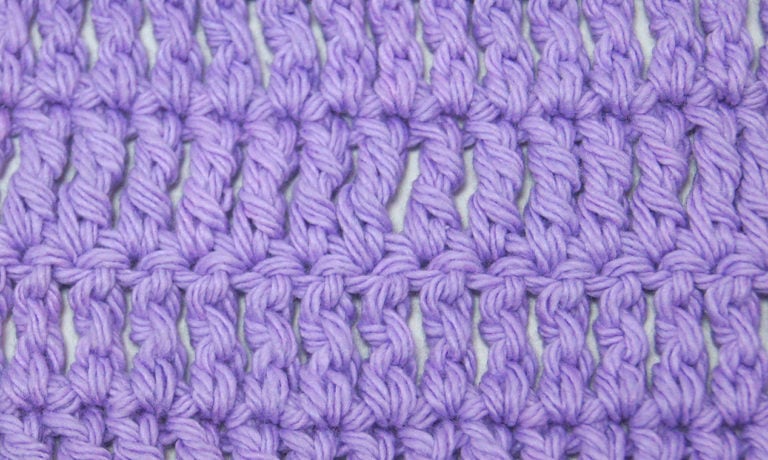
The one major ‘con’ to this technique is that it leaves a pretty visible seam along where you’re joining, which is why I usually just work in the round rather than join in the round when making beanies or amigurumi.
It is a great technique though and is used a lot in motifs and things like granny squares.
Abbreviations
ch
Chain
st
Stitch
yo
Yarn Over
sl.st
Slip Stitch
sc
Single Crochet
inc
Increase
dec
(Sharp) Decrease
invdec
Invisible Decrease
sc2tog
Single Crochet 2 Together
hdc
Half-Double Crochet
dc
Double Crochet
tr
Tripple (or Trebble) Crochet
Note:
These boxes are checkboxes
Joining in the Round
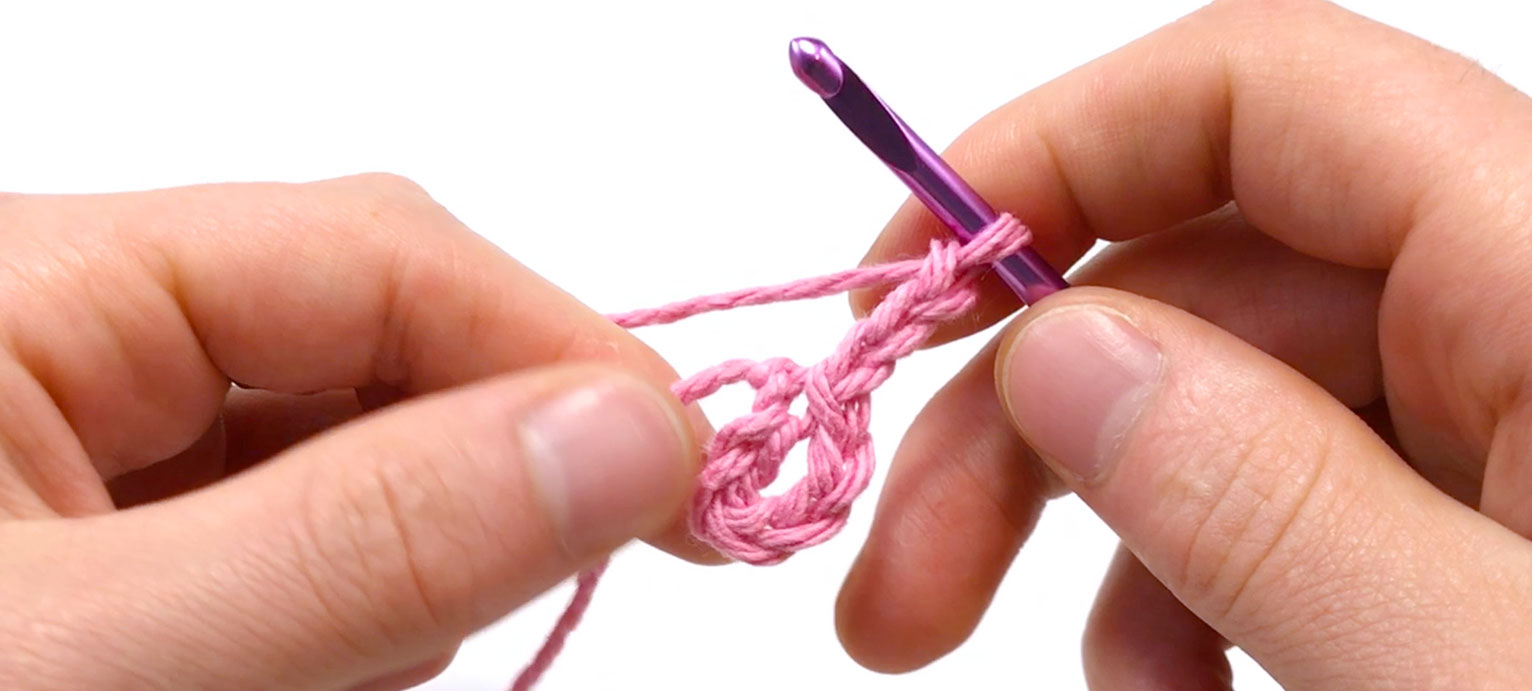
Usually you’ll be making these into a ring of chain stitches, so to start lets Chain 6
Connect the chains with a Slip Stitch (sl.st) to make a ring
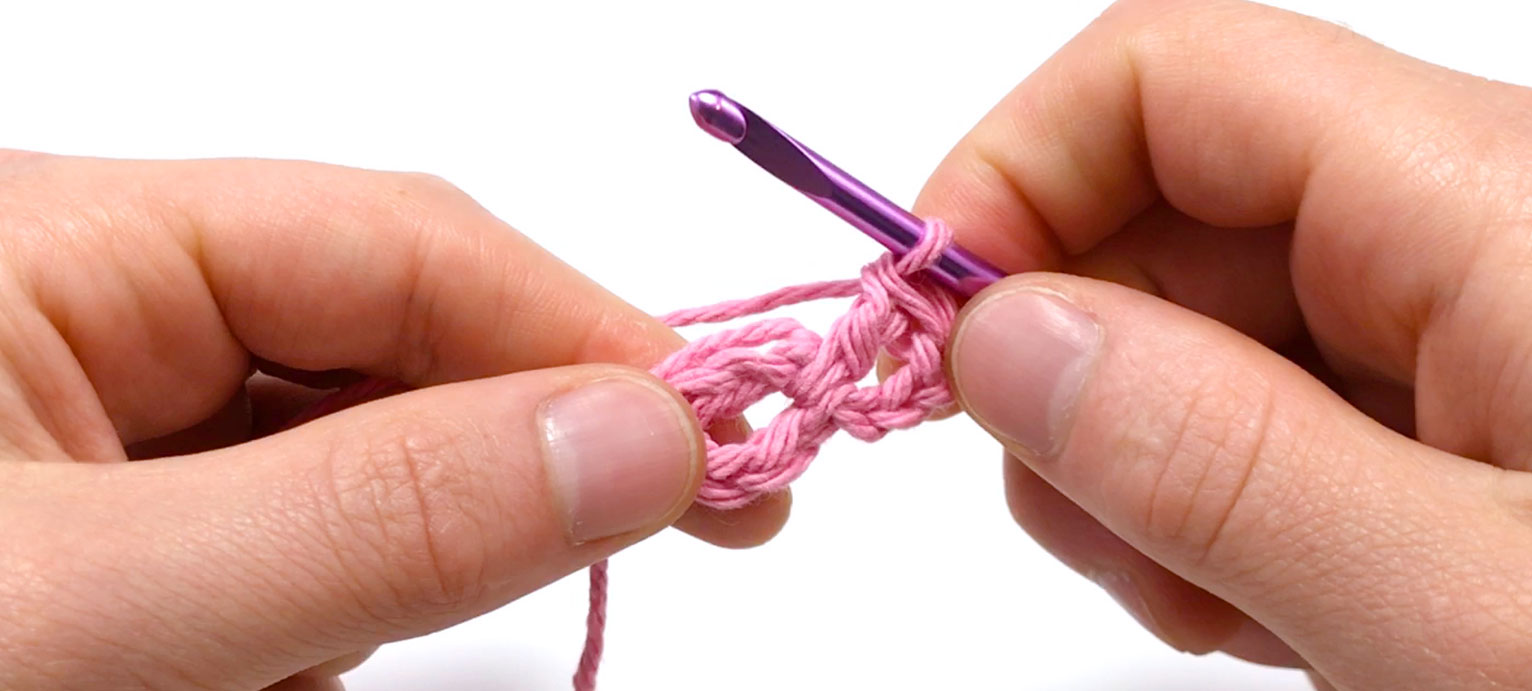
Now we’ll be working into the center hole. We’re going to make a ring of double crochet stitches instead of single crochets. So, before we start our Rnd of double crochets, we want to ch 3.
Now work our double crochet stitches into the center of the ring (sometimes they’ll be worked into the chains depending on the pattern).
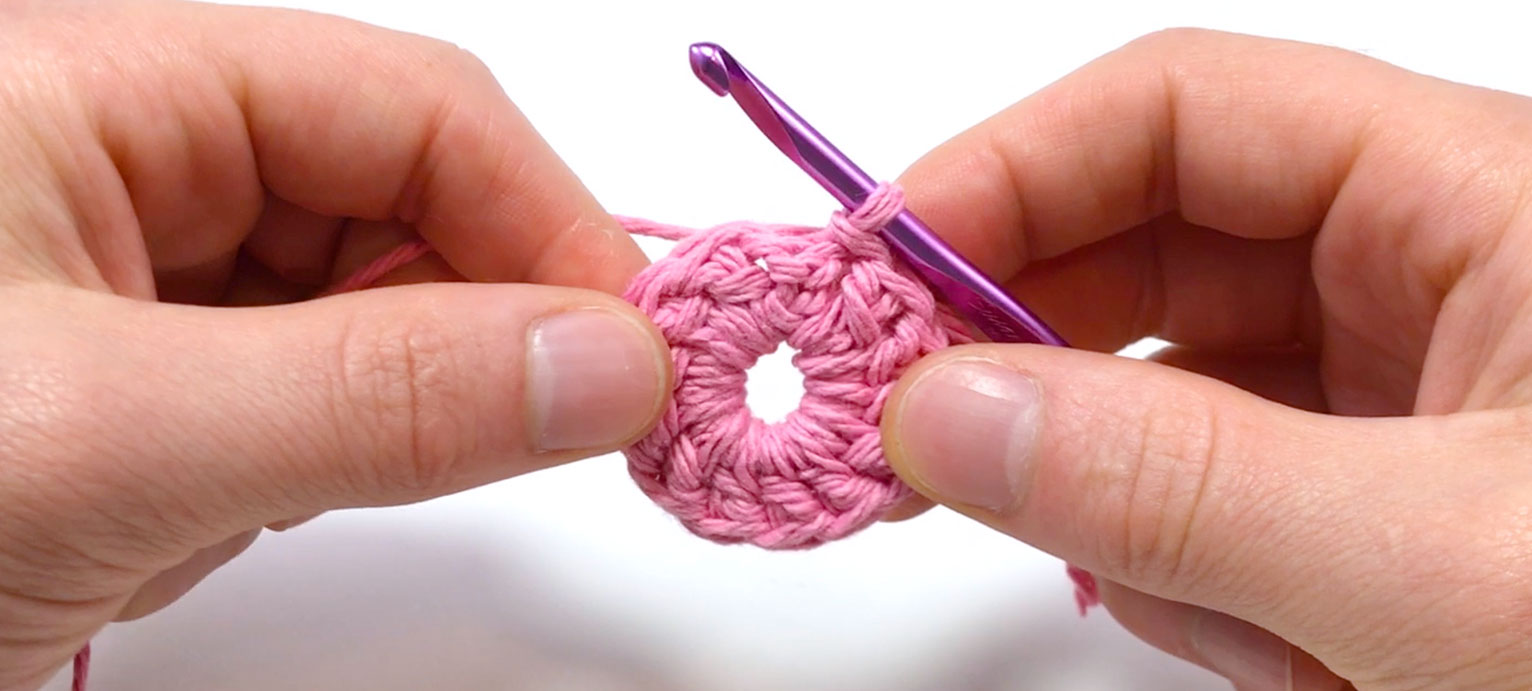
Rnd 1
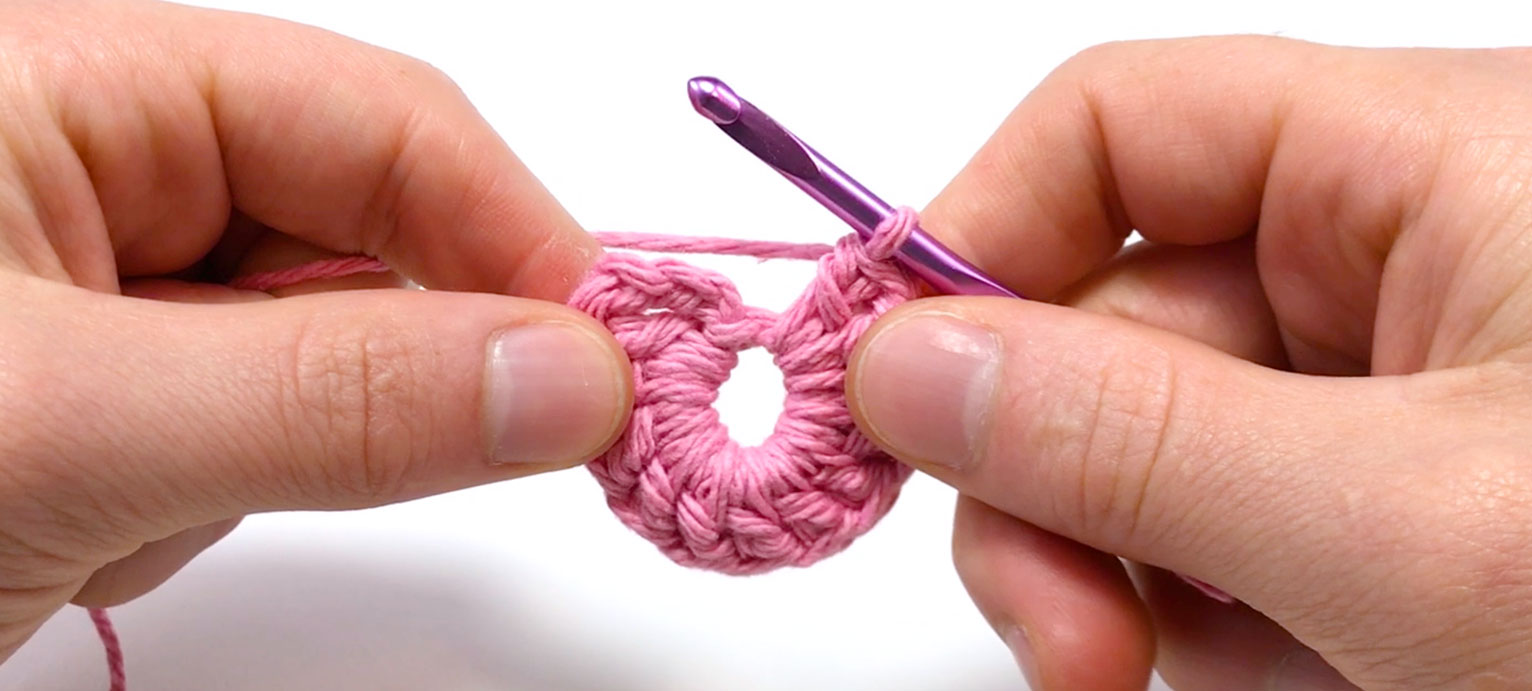
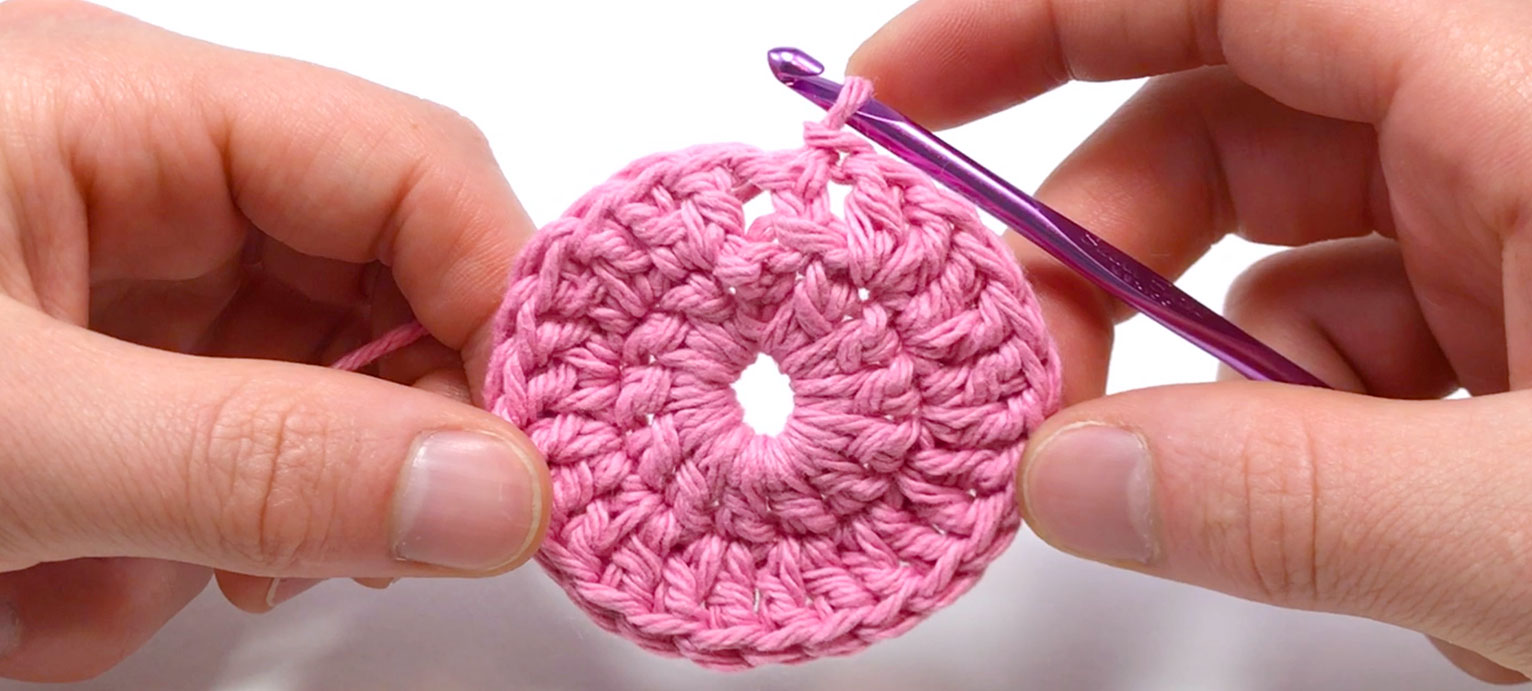
Working into the center of the ring, dc 12 (12)
Join the Rnd with a sl.st into the last of the 3 chs you made in the beginning of the Rnd
Now we just continue on. Depending on the pattern, you might have to turn here (which is why I say it’s kind of like a meld between working Round and in the Flat), though a lot of patterns just have you continue on without turning.
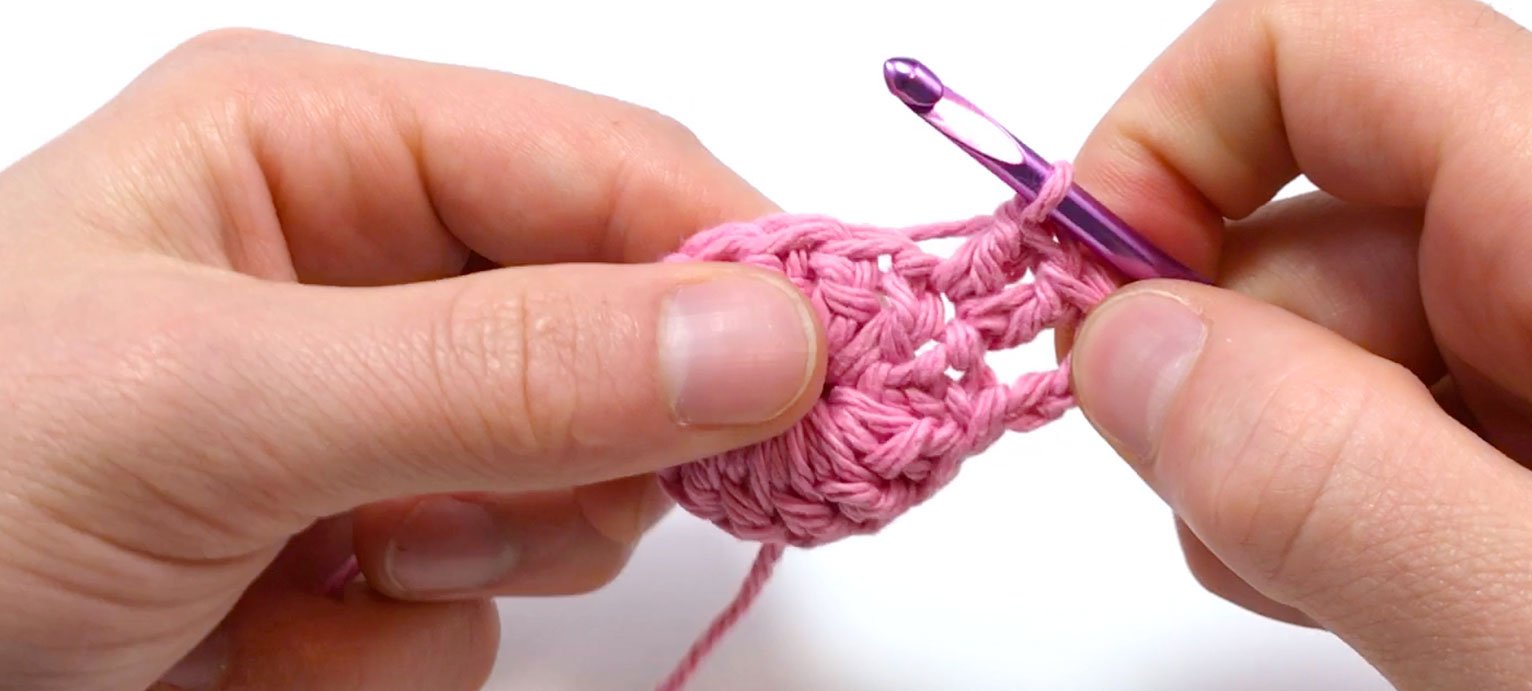
Rnd 2
Chain 3, inc in each st around (24)
The main difference between Joining in the Round and simply Working in the Round is that you’ll have to do that first chain before continuing like you do when working in the flat.
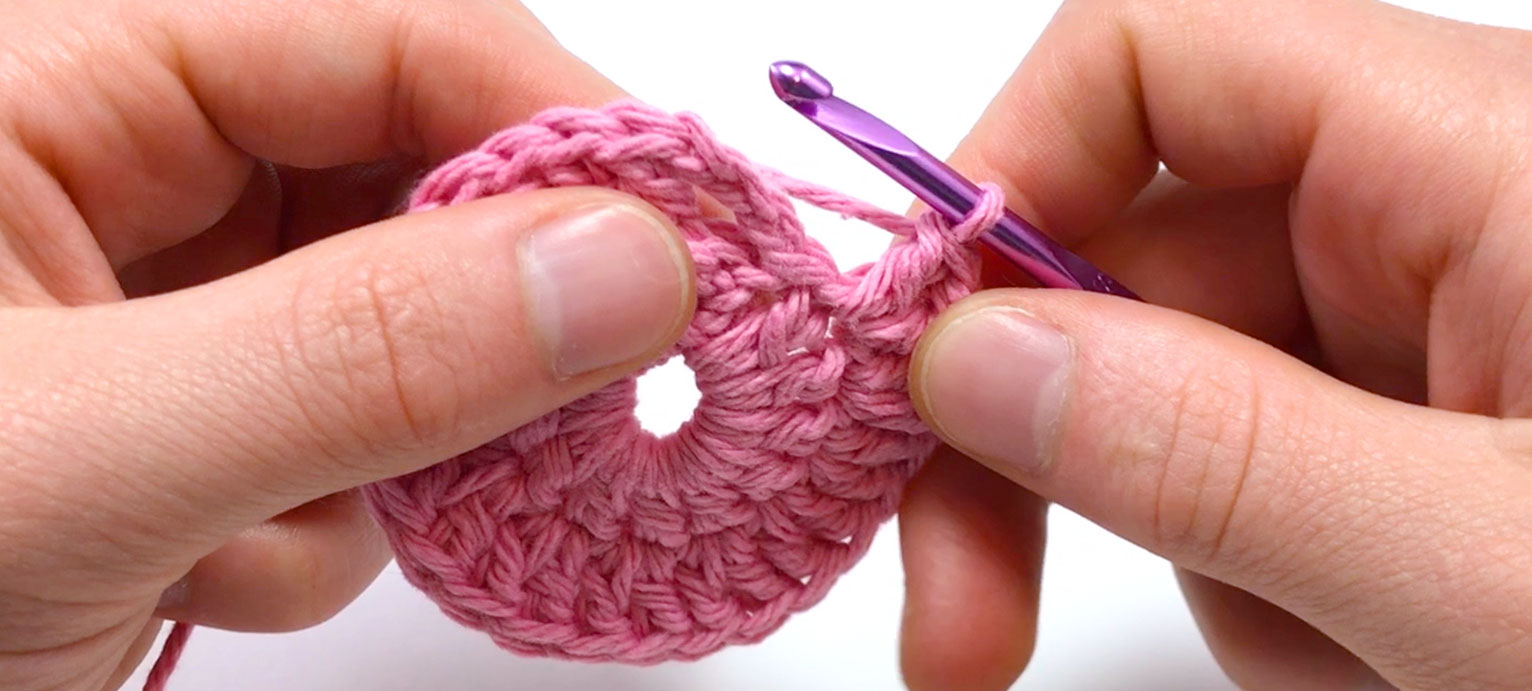
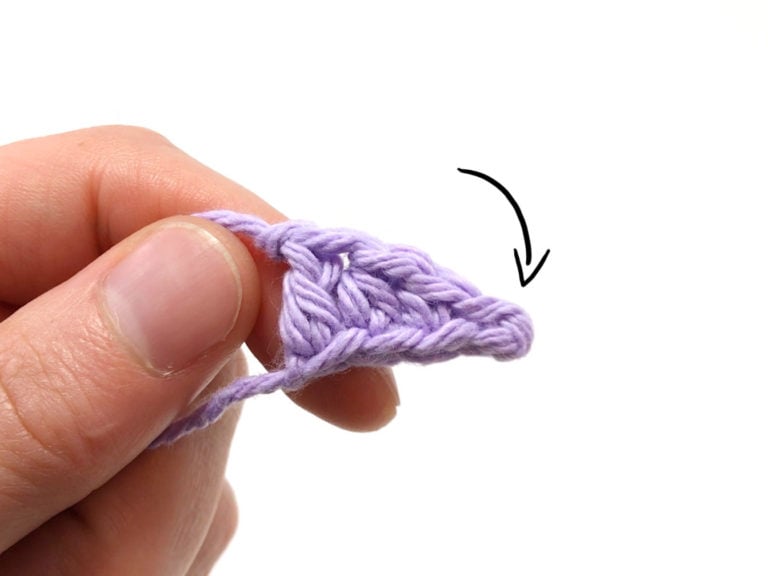
When you get to the end and have 24 stitches (not including our first ch 3), you want to skip our connecting sl.st and instead join the ends by making a sl.st into the top chain, like we did before.
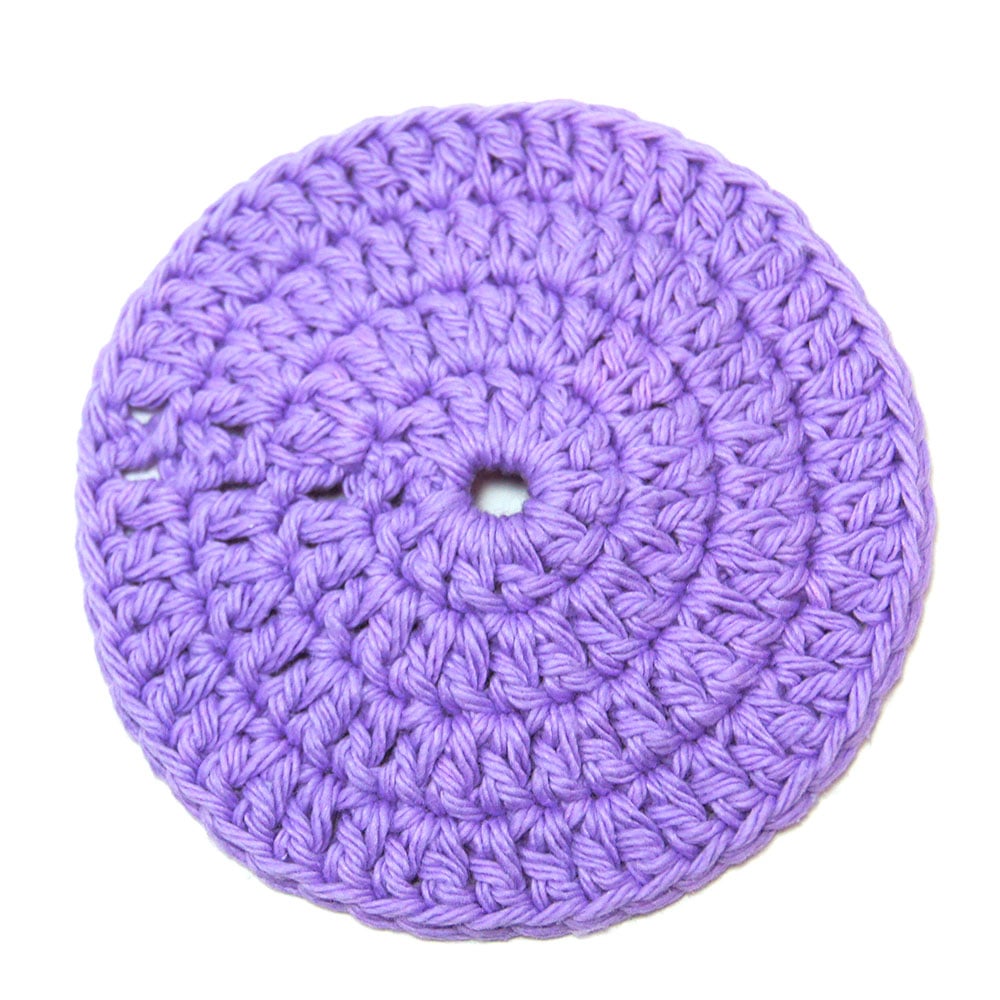
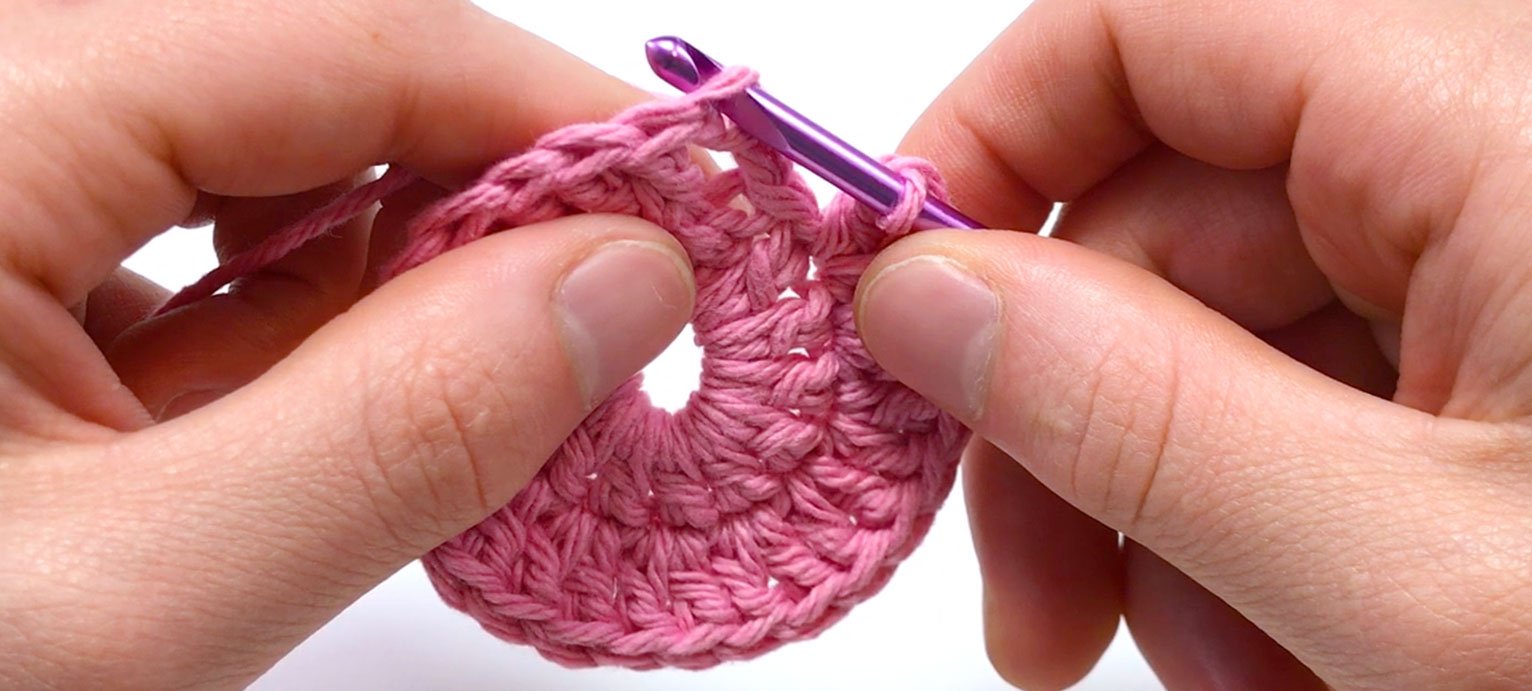
And that’s how you Join in the Round for crocheting. Continue using this method, chaining before for each Rnd, and when you get to a size you want, simply cut and pull through at the end to make a final knot, which you can then sew into the piece to hide, or use to sew pieces together!
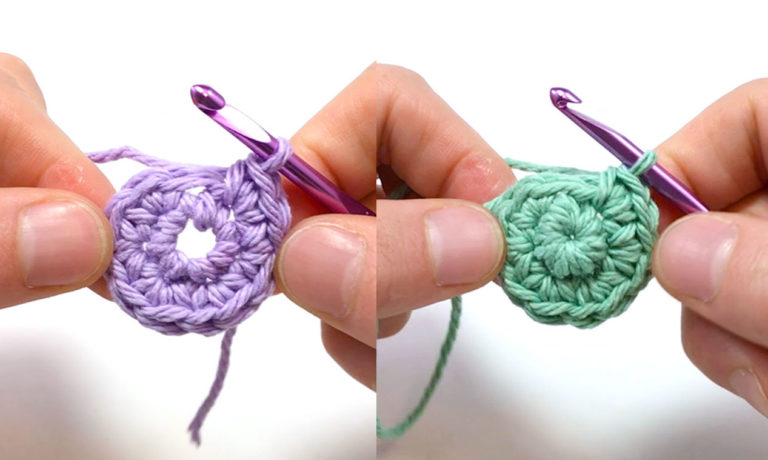
Front
Back
If you want to continue, here are the next few Rnds: