
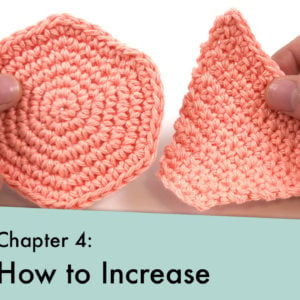
Sphere or Hacky Sack

Louie's Loops

Beginner
What you'll create

What you'll learn
What you'll need

Cotton Yarn
Weight

Colors

Crochet Hook
G6 / 4.00 mm

Stuffing

Darning Needle

Safety Bead (x2)
6 mm
Abbreviations
ch
Chain Stitch
st
Stitch
sc
Single Crochet
inc
Increase
dec
Decrease (Sharp)
invdec
Invisible Decrease
yo
Yarn Over
Other Useful Info
Pages
79-91


The Pattern
 Use the checkboxes to track your progress
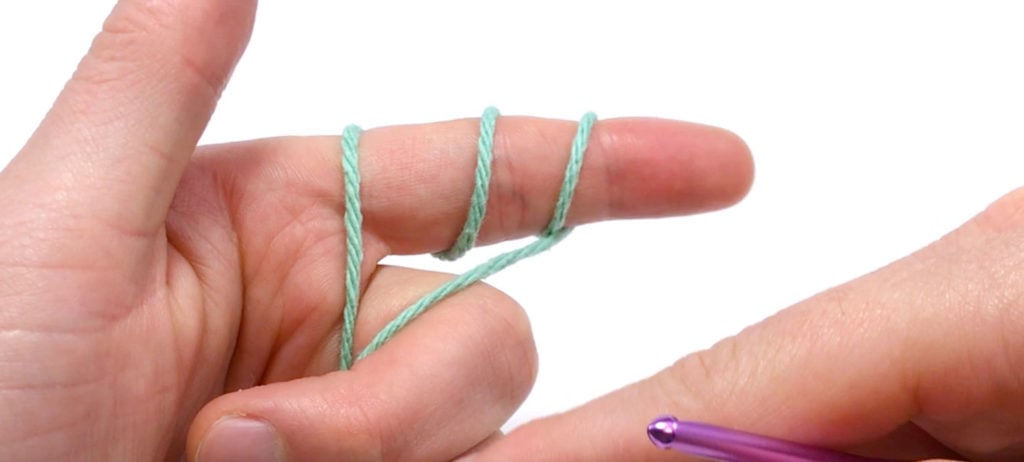
01 The Magic Loop Method
See Chapter 10 (pg. 73) of Crocheting 101 for full details / instructions
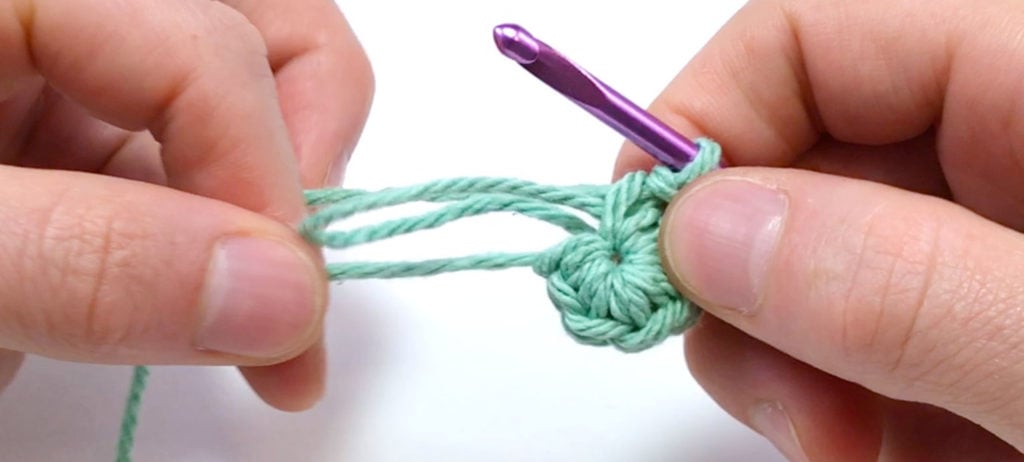
To make the Magic Loop method, wrap the yarn around your index finger 3 times, holding the end attached to the ball in your bottom three fingers, and the tail end between your middle and ring finger.
Insert the hook under the first two loops and yarn over using the third loop.
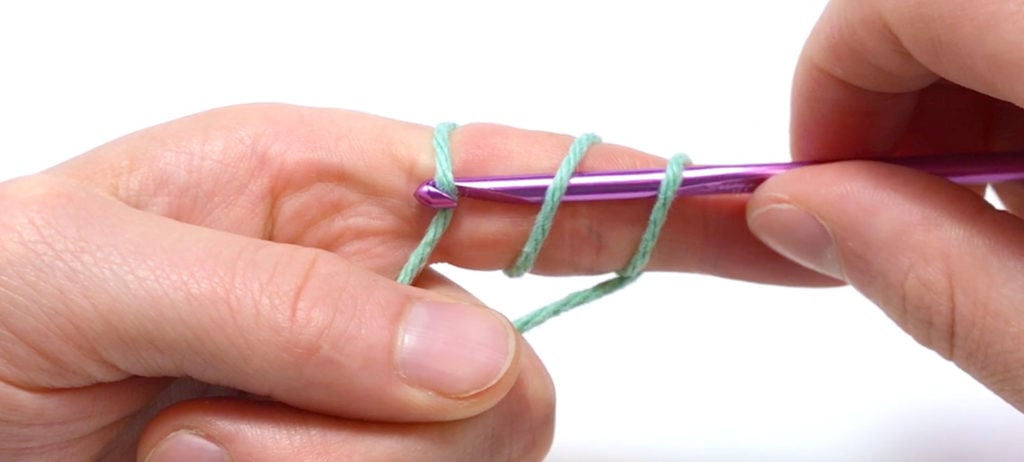
Pull this through the first two loops, yarn over and pull through again, basically making a chain around the first two loops.


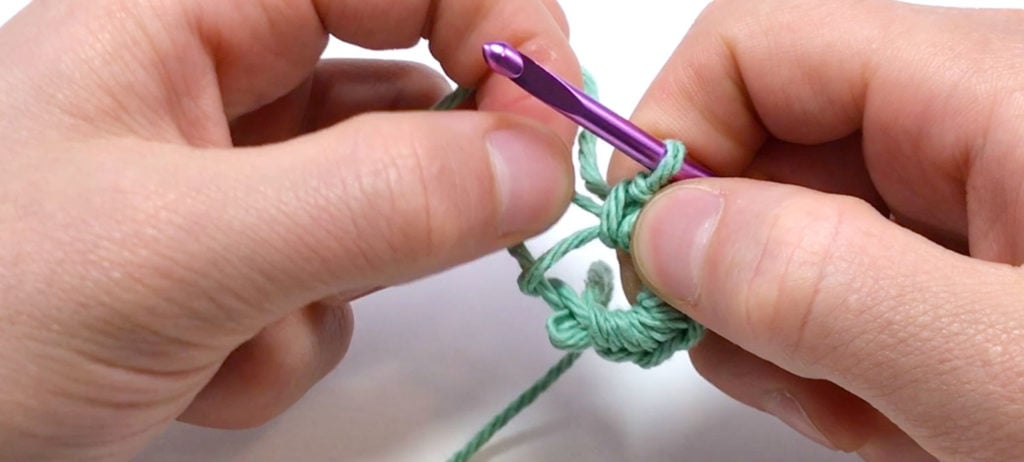
You can now pull it off of your finger and work a single crochet around the two loops.


Make the rest of the stitches you’ll need for Rnd 1, in this case 6 scs total, so we need five more.


Pull the top loop, which should tighten the bottom loop. Make it as tight as you think you’ll need.
And pull the tail to tighten the top loop.
Now continue as you normally would by single crocheting into the first single crochet made, but be sure to work around this tail end to hide it and make sure that the magic loop doesn’t come undone.
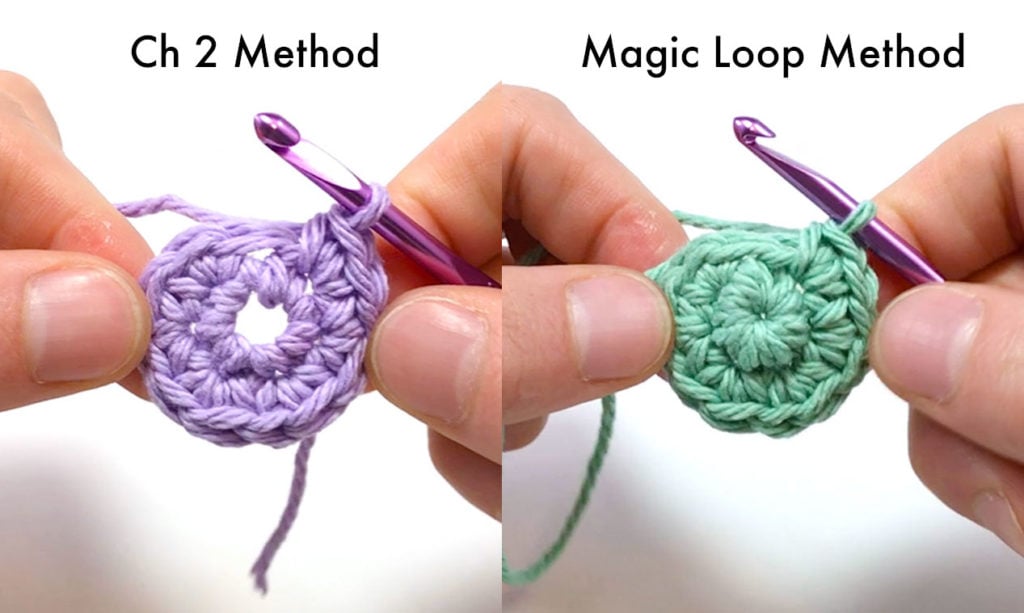
This method for starting in the round works interchangeably with the Ch 2 Method used in the previous project. The Magic Loop Method is better suited for getting a tighter hole in the center, which comes in handy when making a stuffed project.
02Crocheting a Sphere
Now that you have made a few projects and know the basics of reading patterns, it’s time to slide off the training wheels. Below is an example of what patterns really look like. There are usually little to no pictures. See the video for more detailed instructions.
Ch 2 or use the Magic Loop Method
Rnd 1: Work 6 sc in 2nd ch from hook or into magic loop (6)
Rnd 2: Inc in each st around (12)
Rnd 3: [sc 1, inc] repeat 6 times total (18)
Rnd 4: sc in each st around (18)
Rnd 5: [sc 2, inc] repeat 6 times total (24)
Rnds 6-8: sc in each st around (24 x 3)
This “x 3” is there to simply tell you you’ll be repeating the same round 3 times in a row.

Now we can start decreasing. To do that, we’re going to use either the InvDec or the sc2tog. I’ll be using the InvDec. For Rnd 9, we want to do the opposite of our last increasing Rnd, Rnd 5, to go inwards instead of outward. To do that we’ll sc 2, then InvDec 1 and repeat that 6 times total. This will bring us down from 24 stitches to 18 stitches.
Rnd 9: [sc 2, invdec] repeat 6 times total (18)
Rnd 10: sc in each st around (18)
Rnd 11: [sc 1, invdec] repeat 6 times total (12)

We’ll be switching now from a subtle decreasing stitch (the invdec / sc2tog) to a sharper decrease to really pull in the stitches for our final Rnd before cutting the yarn, stuffing and sewing it closed.
Rnd 12: dec in each st around (6)


If you are making amigurumi and you want to add a face to your project, this is the best time to do so. It’s very difficult to add features after it’s stuffed and sewn together.
03Sewing Closed
Stuff your piece with either polyfill stuffing (like you would find in pillows) or with dried beans to make a hacky sack.

For polyfill, use the eraser end of a pencil to help stuff it into the piece. For beans, use a funnel.

Try not to over stuff it. There should be a bit of a give when squeezing the sphere so that it’s squishy.

Now sew it closed.
Here are our final 6 stitches. The one with the needle is the last hole from the Rnd before the final Rnd, you’ll be using this hole too.


We’re going to number them to make it easier. The final stitches will be 1-6 and the other hole will be 0.
Start by going into the top of stitch 3, across, and back out through 0.

Pull it somewhat tight, but I would avoid pulling the loops too tight until the end because the stitches are going get pulled together and it can be confusing on where to go next.

Now go down into 4, across, and out of 1.

Then into 5 and out of 2.

You can pull the whole thing tight now, and finish up by going into stitch 6.

Poke the end out of the side of the piece you can either cut it here, or go back through the bottom.


This should keep your piece closed. But if you’re nervous about it opening up, make a knot at the end. I’m going to knot it since I’ll probably be kicking it around a lot and it might come loose otherwise.


There we go! Now We can go play a bit of hacky sack or use this same pattern for making the head for a little amigurumi guy!

I named him Wilber.
Other Patterns You Might Like


should Rnd 6-8 be (24×3)? i don’t see a invdec until Rnd10
yeah I saw that tooo